- Published on
Install Home Assistant On Windows Using VMware
- Authors

- Name
- Simply Smart House
- Download VM Workstation Player
- Download Home Assistant Image
- Launch VMware Workstation 17 Player
- Edit VM Settings
- Start the Virtual Machine
- Onboarding Home Assistant
- How To Add Zigbee Support
- How To Add Bluetooth Support
How To Install Home Assistant using VMware Workstation
In this guide, we'll show you how to install Home Assistant using VMWare Workstation Player.
VMWare Workstation Player is a free virtualization software that allows you to run multiple operating systems on a single host machine. This means you can create a virtual machine (VM) for Home Assistant, which is an efficient and safe way to run the software.
Download VM Workstation Player
Download VMplayer for Windows from here

Then, install VMware Workstation 17 Player with all defaults.
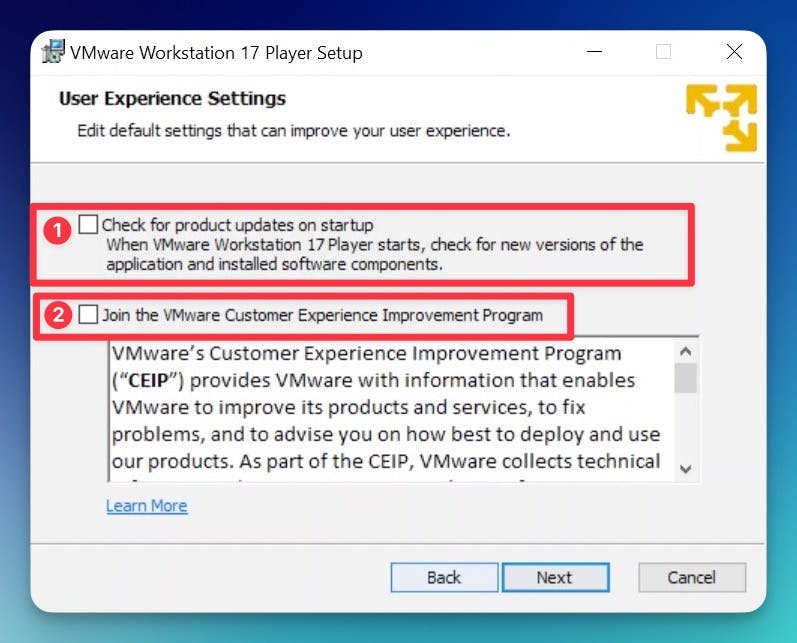
On the User Experience screen, you can uncheck both options:
Continue with the install until complete.
Download Home Assistant Image
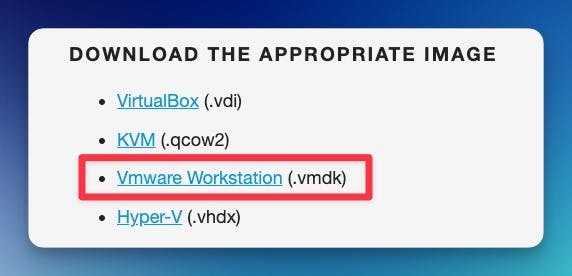
Download the Vmware Workstation (.vmdk) image from here
Extract the file, and place it into a directory where your VM will live (C:\Home Assistant)
Launch VMware Workstation 17 Player
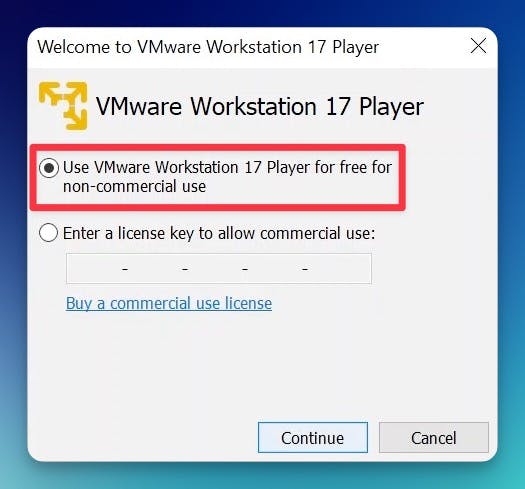
Launch VMware Workstation 17 Player. Select the free for non-commercial use option.
Click Create a New Virtual Machine
Click I will install the operating system later.
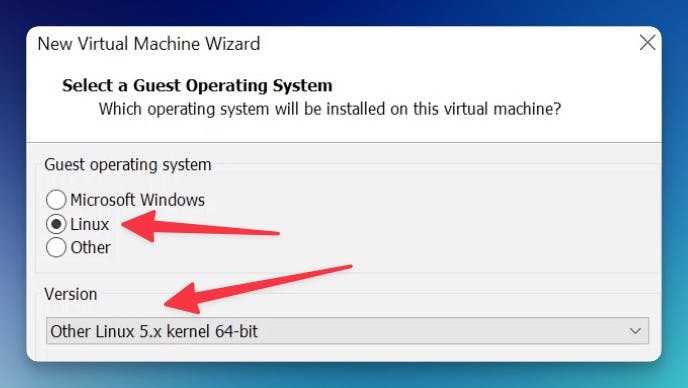
Select Linux. For the version, you would use Other Linux 5.x and later kernel 64-bit.
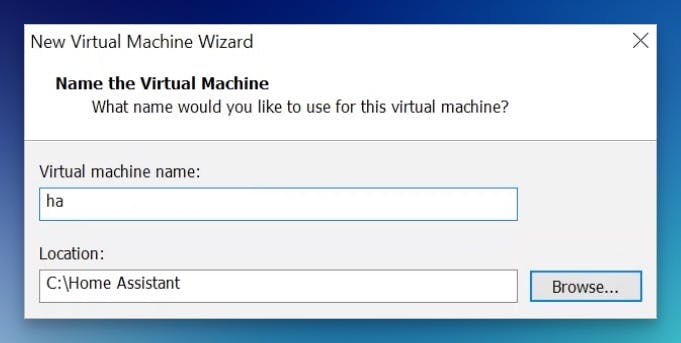
Give your VM a name (for example: ha) and select the folder you created in the previous step.
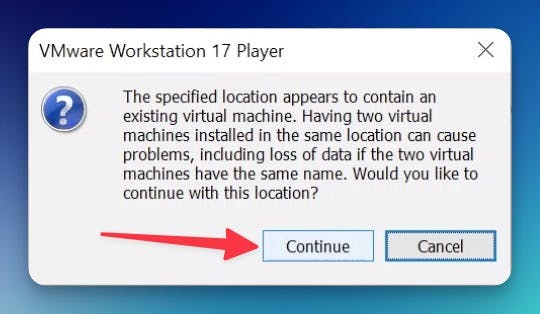
Confirm the popup. Select Continue.
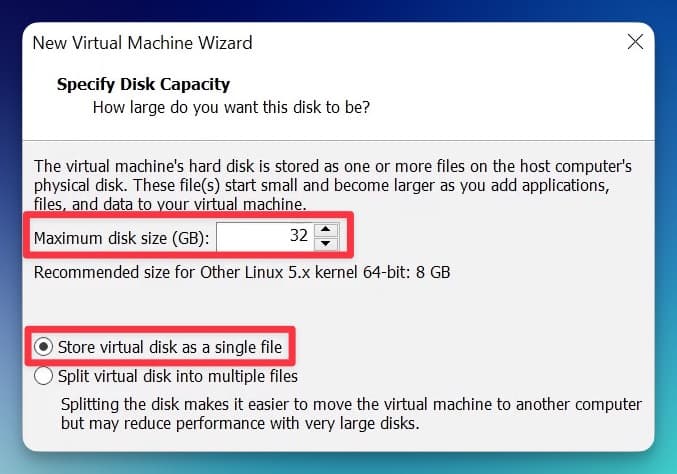
Store it as a single file, and set your storage size to 32GB as recommended by Home Assistant documentation.
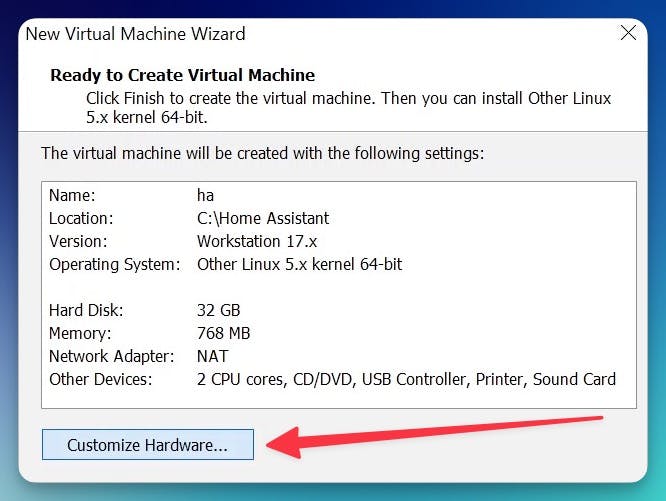
On the next screen, click Customize Hardware.
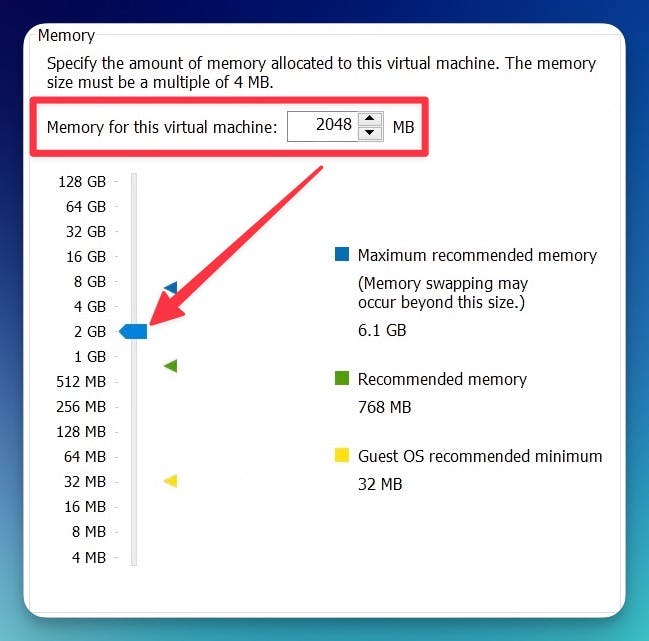
Set memory to at least 2GB
Make sure that Processors are set to at least 2

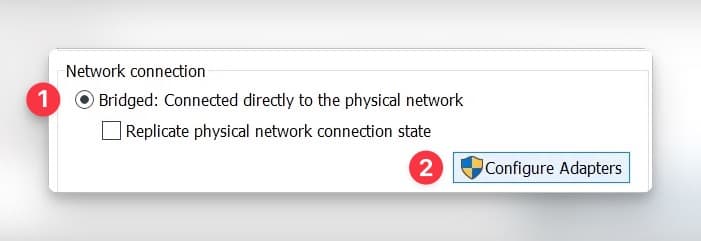
Set the network adapter needs to “bridged” mode. Then go to Configure Adapters
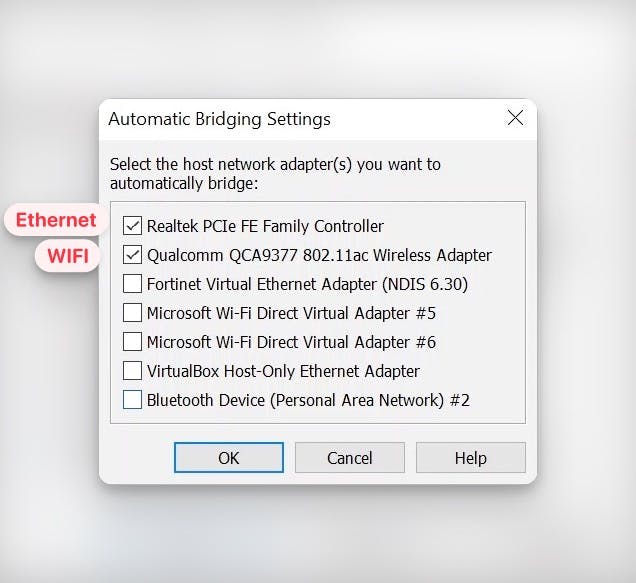
Make sure to select only your Ethernet and WIFI adapters (if you're going to use WIFI)
Remove both New CD/DVD (IDE) and Printer as they will not be used.
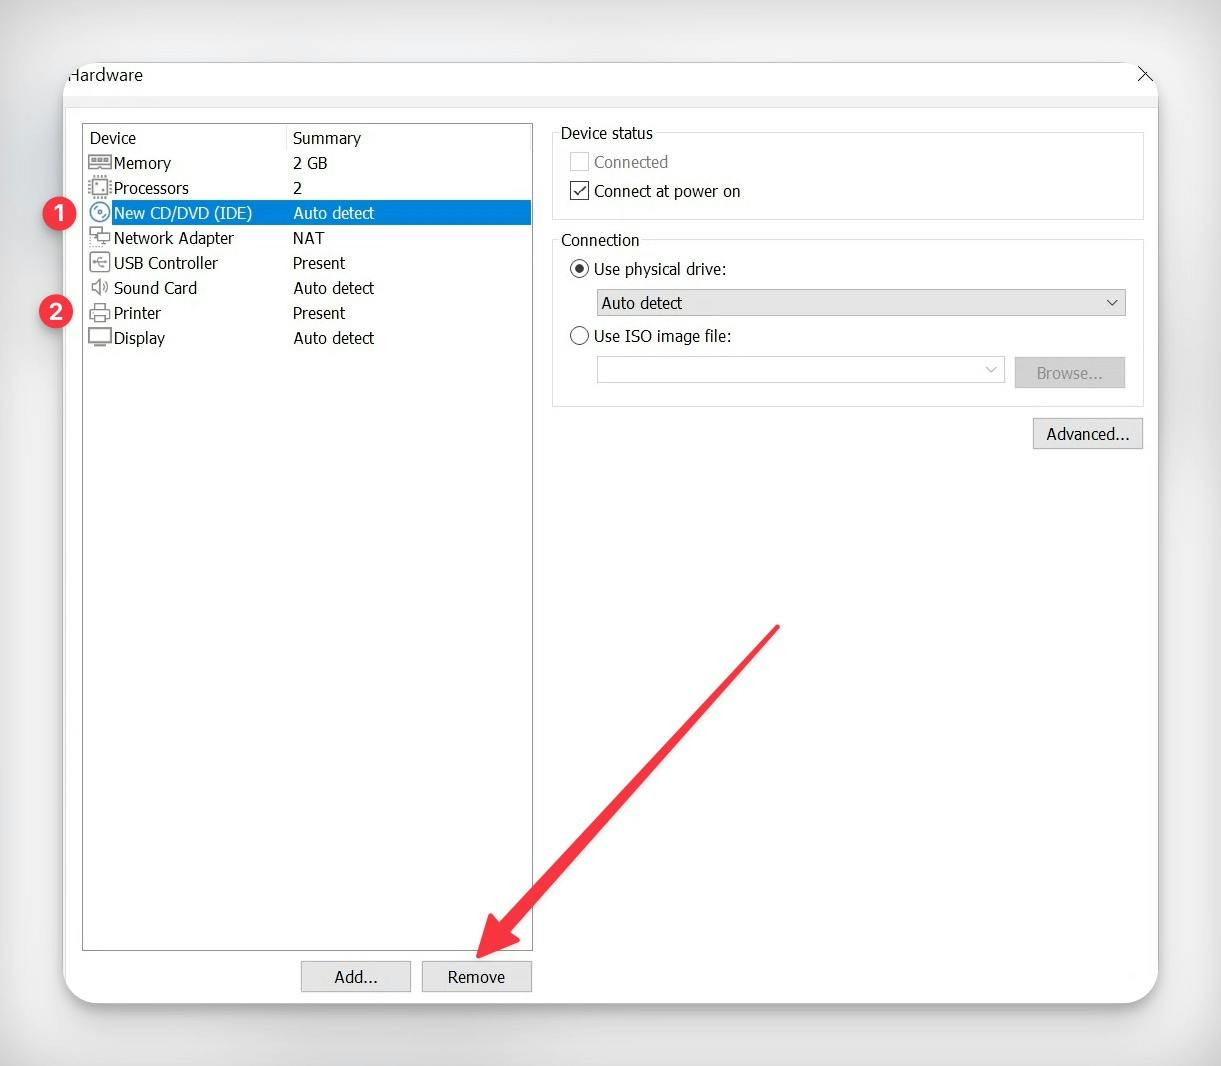
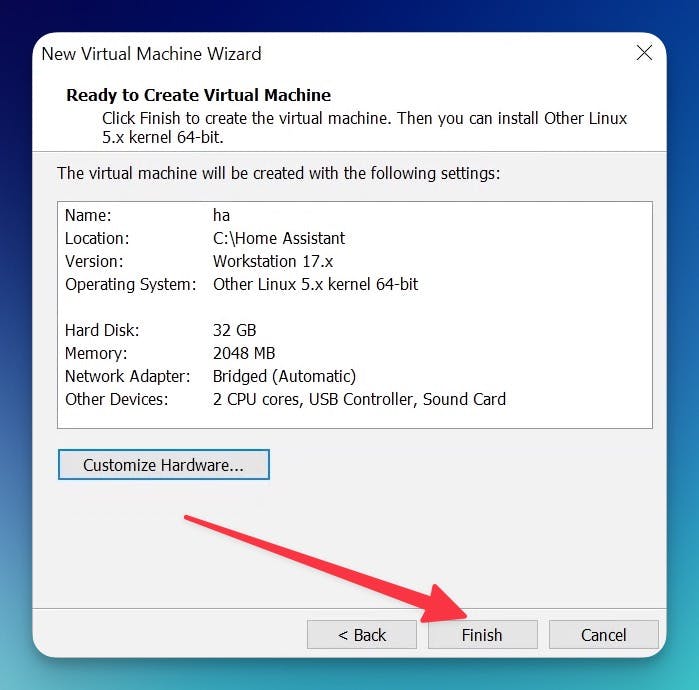
This is how your hardware should look go to Finish to create your Virtual Machine.
Edit VM Settings
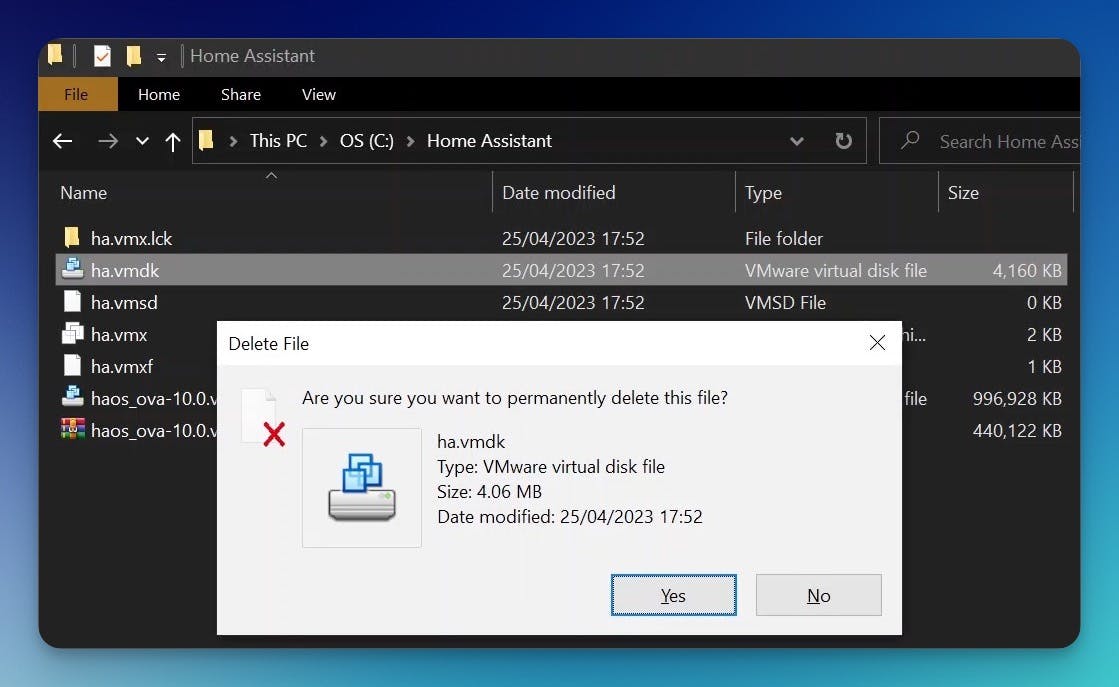
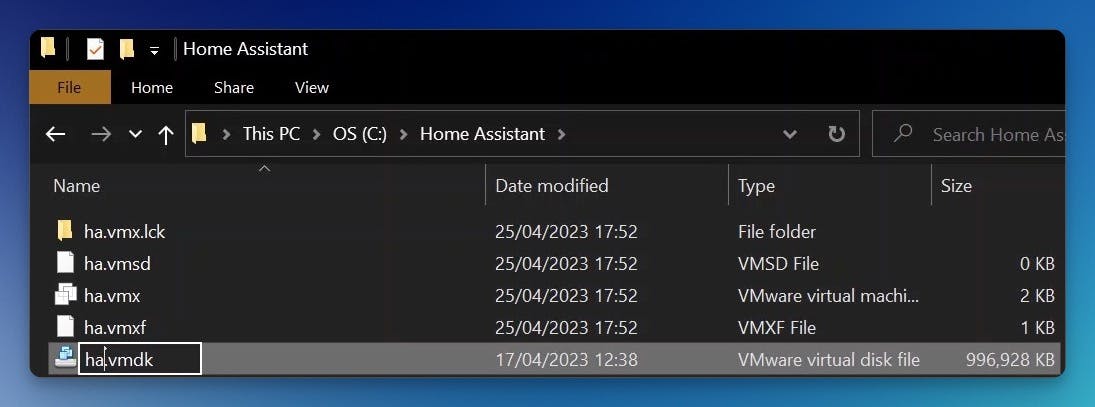
Navigate back to the C:\Home Assistant folder. Delete the ha.vmdk file.
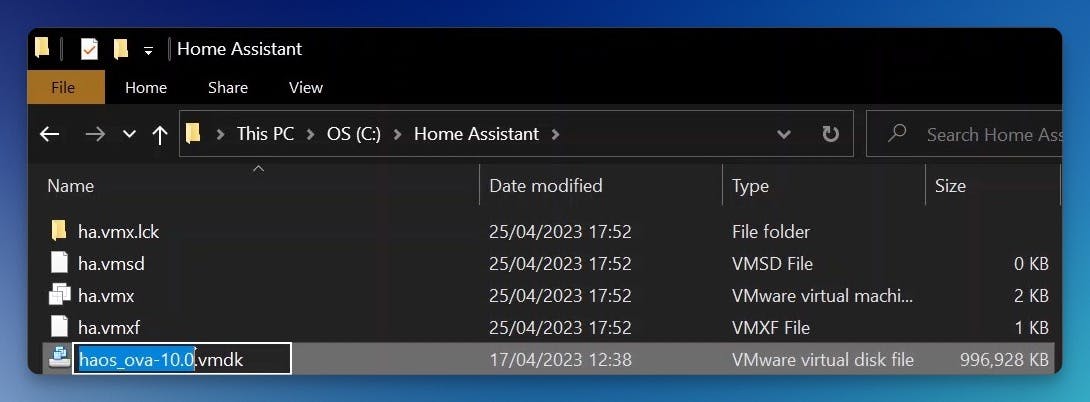
Then rename the haos _ova- 10.0.vmdk to ha.vmdk (or the Virtual Machine name you created in the previous step).
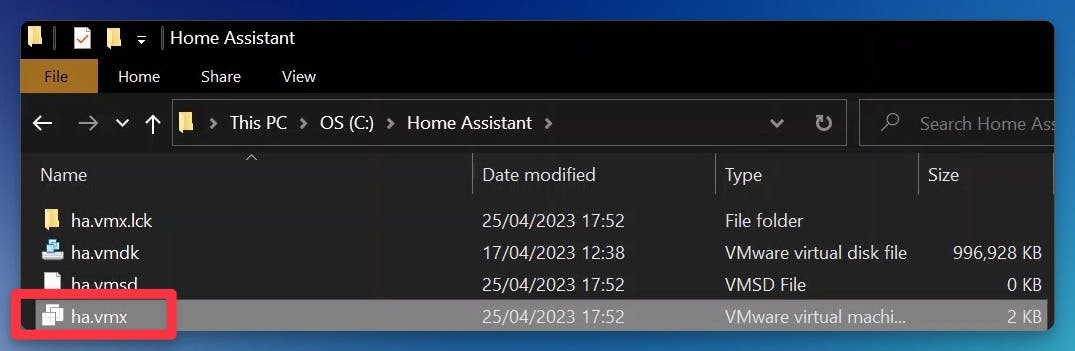
Then, locate the homeassistant VMware virtual machine configuration file (.vmx). Right-click > Open With > notepad.

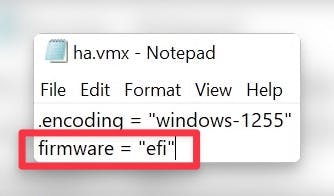
Under the .encoding line, add the following code and save the file.
firmware="efi"
Start the Virtual Machine
Select your VMThen, click Play Virtual machine or click the green triangle at the top of the window.

If you see this message, click OK.

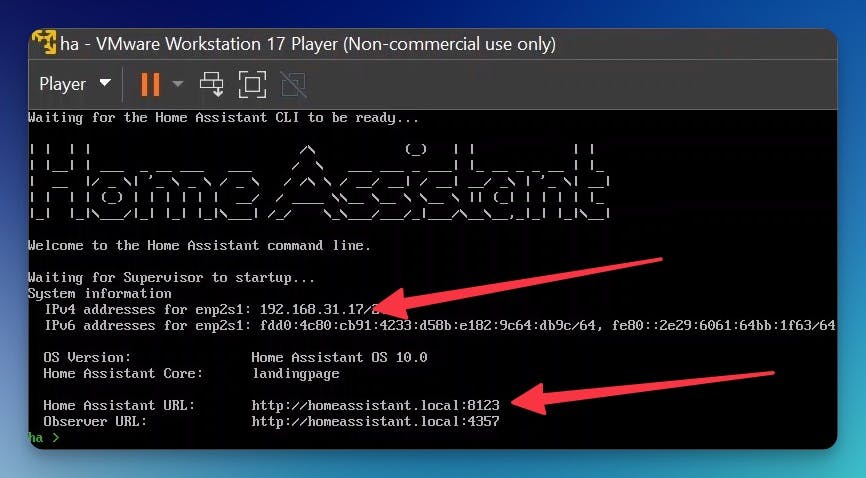
If everything is successful up until this point, you should see the Home Assistant login screen with some IP addresses.
Onboarding Home Assistant
Once completed, you will be able to reach Home Assistant on homeassistant.local:8123. If you are running an older Windows version or have a stricter network configuration, you might need to access Home Assistant at homeassistant:8123 or http://X.X.X.X:8123 (replace X.X.X.X with your’s IP address as shown for IPv4 Addresses in the image above).
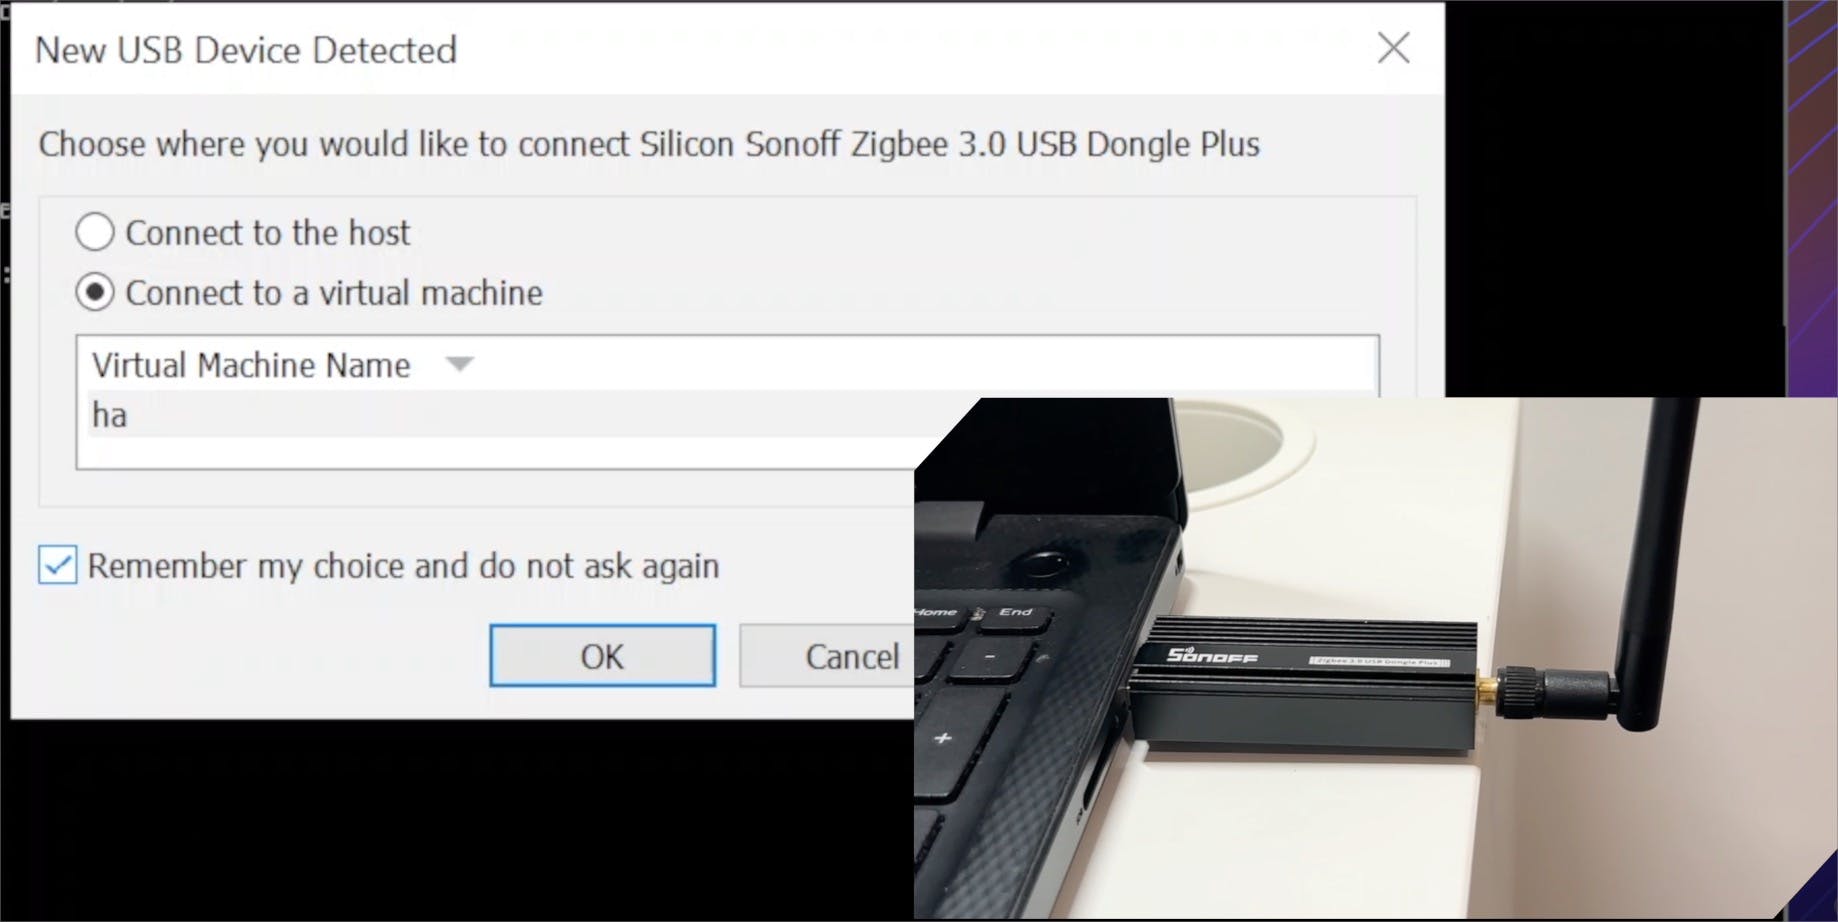
How To Add Zigbee Support
You can just connect your zigbee stick to your PC, and it should be detected like so:
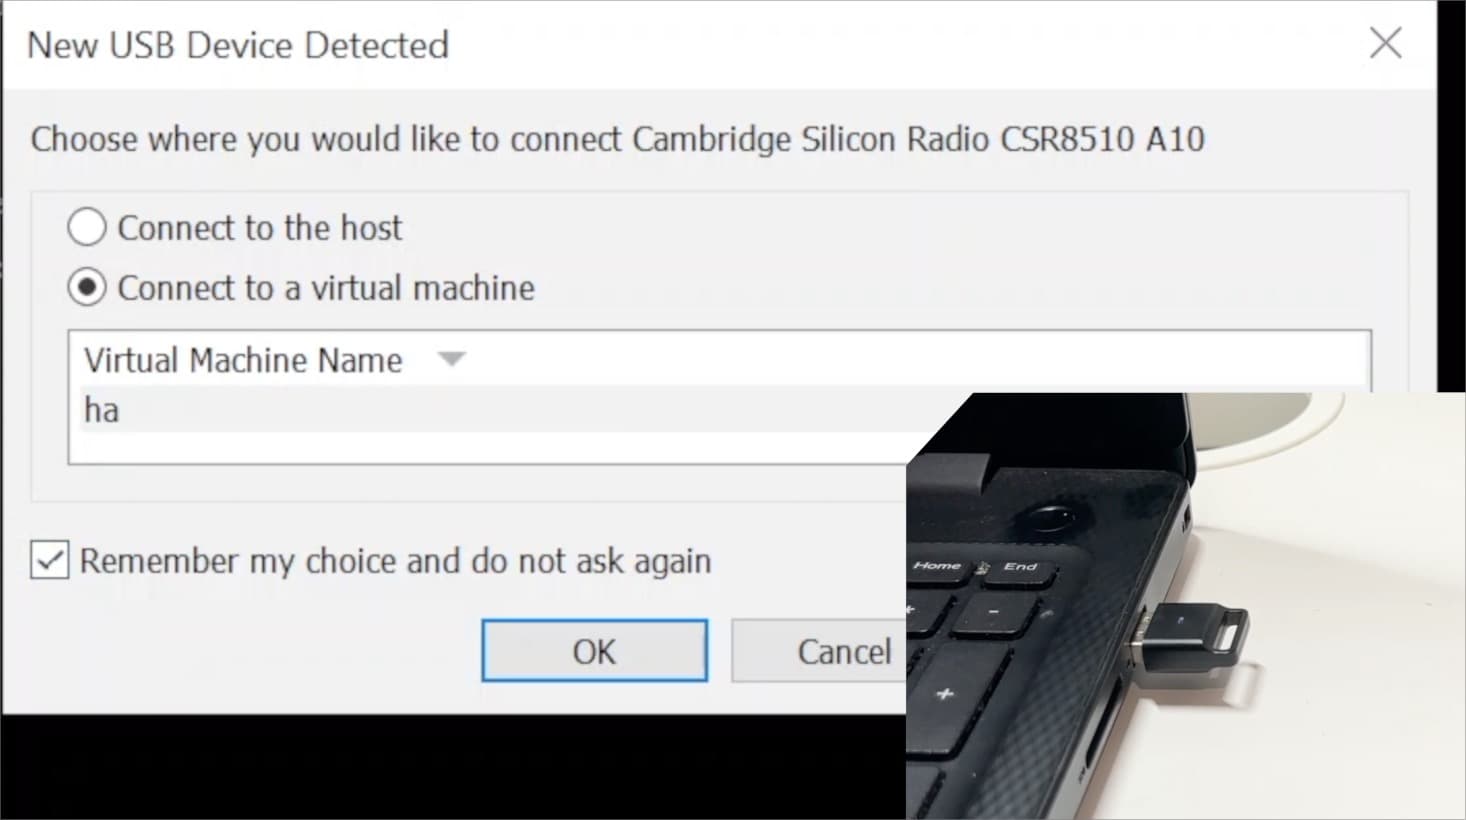
How To Add Bluetooth Support
You can just connect your Bluetooth dongle to your PC, and it should be detected like so: