- Published on
Xiaomi Temperature & Humidity Sensor Home Assistant Integration
- Authors

- Name
- Simply Smart House
- Hardware Requirements
- Install the firmware
- Integrate Xiaomi sensor in Home Assistant
- Automations Examples
Xiaomi Temperature & Humidity Sensor Home Assistant Integration
Create a budget-friendly smart home with the Xiaomi temperature and humidity sensor. With its affordable price and long-lasting battery life, this sensor is a reliable choice. Integrating it with Home Assistant is a simple process that we will explore in this blog post.
Hardware Requirements
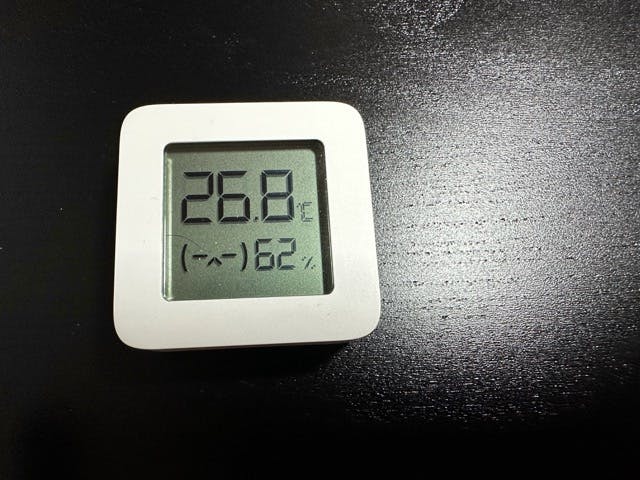
First of all, you will need the Xiaomi temperature and humidity sensor.
You will need a running Home Assistant instance with integrated Bluetooth, such as a Raspberry Pi or an Intel NUC.
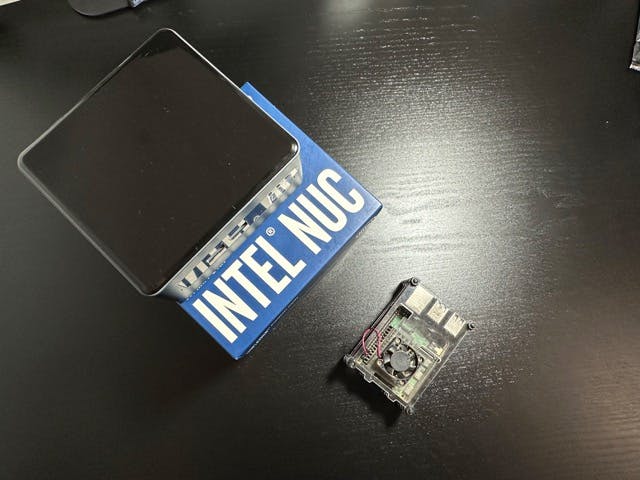
No Bluetooth on your device? No worries! Simply add a Bluetooth dongle or use a Bluetooth proxy to enable Bluetooth support in Home Assistant. A Bluetooth proxy not only adds Bluetooth functionality but also allows for a "mesh" network with multiple proxies.
Install the firmware
The Xiaomi sensors come with encryption by default. However, utilizing custom firmware can remove this encryption and provide greater configurability options.
Open Chrome and navigate here
Check the “Get Advertising MAC” box and click
Connect
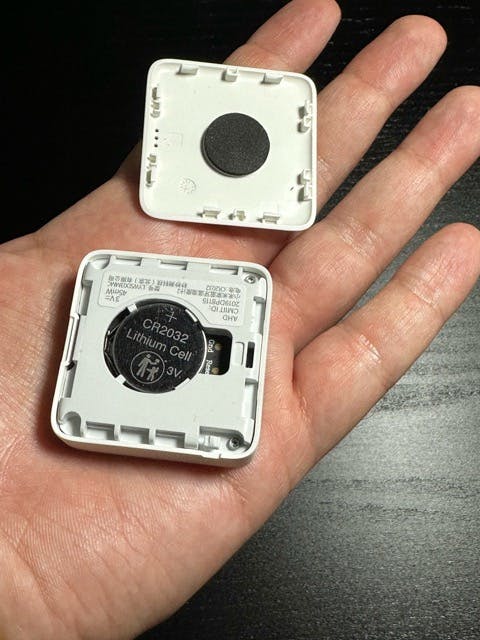
Open the Xiaomi sensor and remove, then reinsert the battery to wake up the sensor.
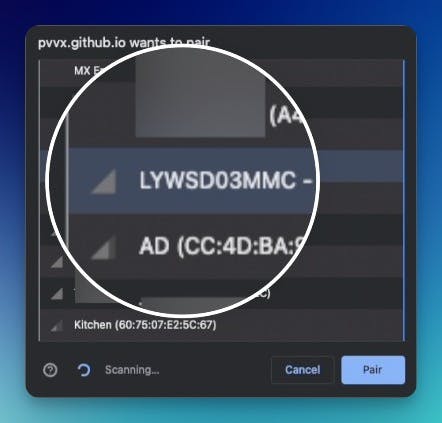
Find your Xiaomi sensor, should be named:
LYWSD03MMCand clickpair
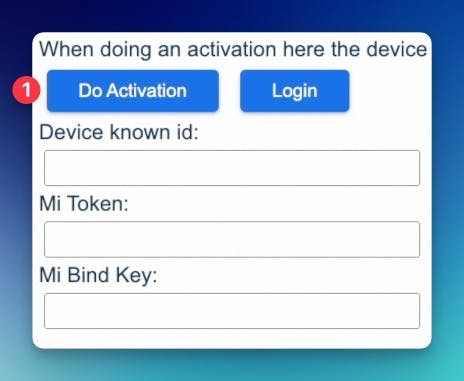
- Click on
Do Activationand wait a few seconds for the three fields to fill
Click on
Custom Firmware ver 4.2and thenStart Flashing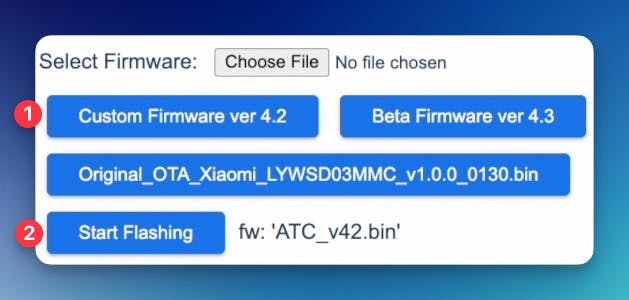
The flashing process should take approximately a minute or so.

After it finished click on
Reconnectand wait for the sensor to connect
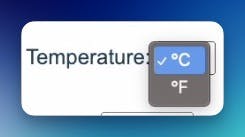
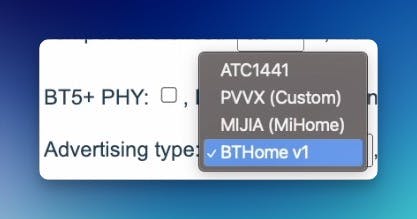
Now you can configure the sensor to your liking, such as choosing between Fahrenheit or Celsius.
Make sure to choose the BTHome for seamless integration in Home Assistant
If you made any changes, make sure to click on
send config

Integrate Xiaomi sensor in Home Assistant
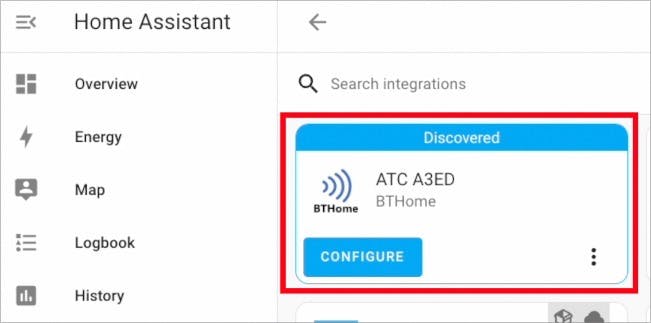
Navigate to the integrations page

You should see the Xiaomi sensor integration
Click on "Configure" and then submit.
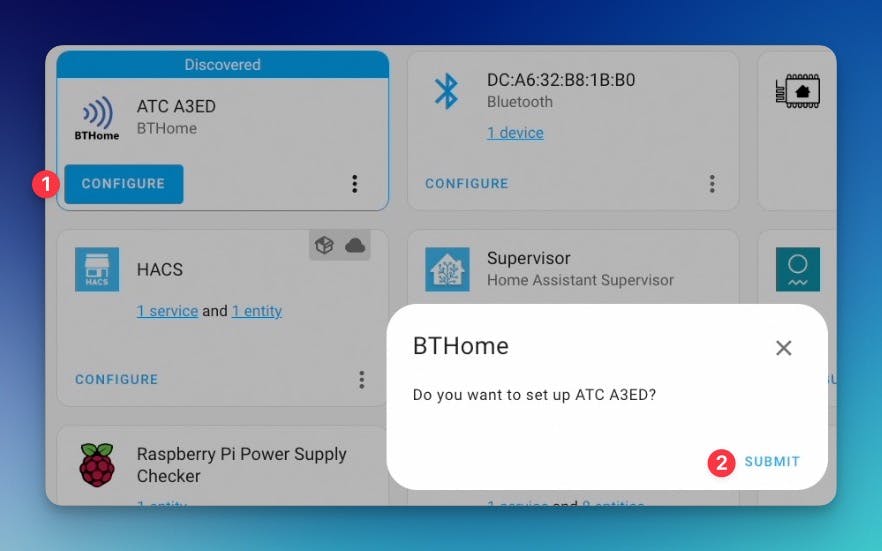
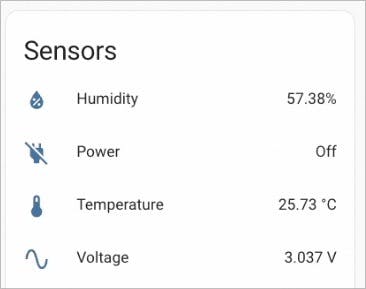
Congratulations! The sensor has been successfully added to Home Assistant.
Automations Examples
- Climate Control: Use the sensor data to automate your HVAC system, ensuring optimal temperature and humidity levels for maximum comfort.
- Energy Efficiency: Create smart routines that adjust your thermostat and control devices like fans or air purifiers based on real-time temperature and humidity readings, optimizing energy usage and lowering utility bills.
- Health and Safety: Receive notifications or trigger actions when the humidity level exceeds a certain threshold, preventing mold growth and maintaining a healthy living environment.
Integrating Xiaomi temperature and humidity sensors with Home Assistant offers a cost-effective way to unlock the power of home automation. With these budget-friendly options, you can create a smarter and more efficient living space without compromising your wallet.